

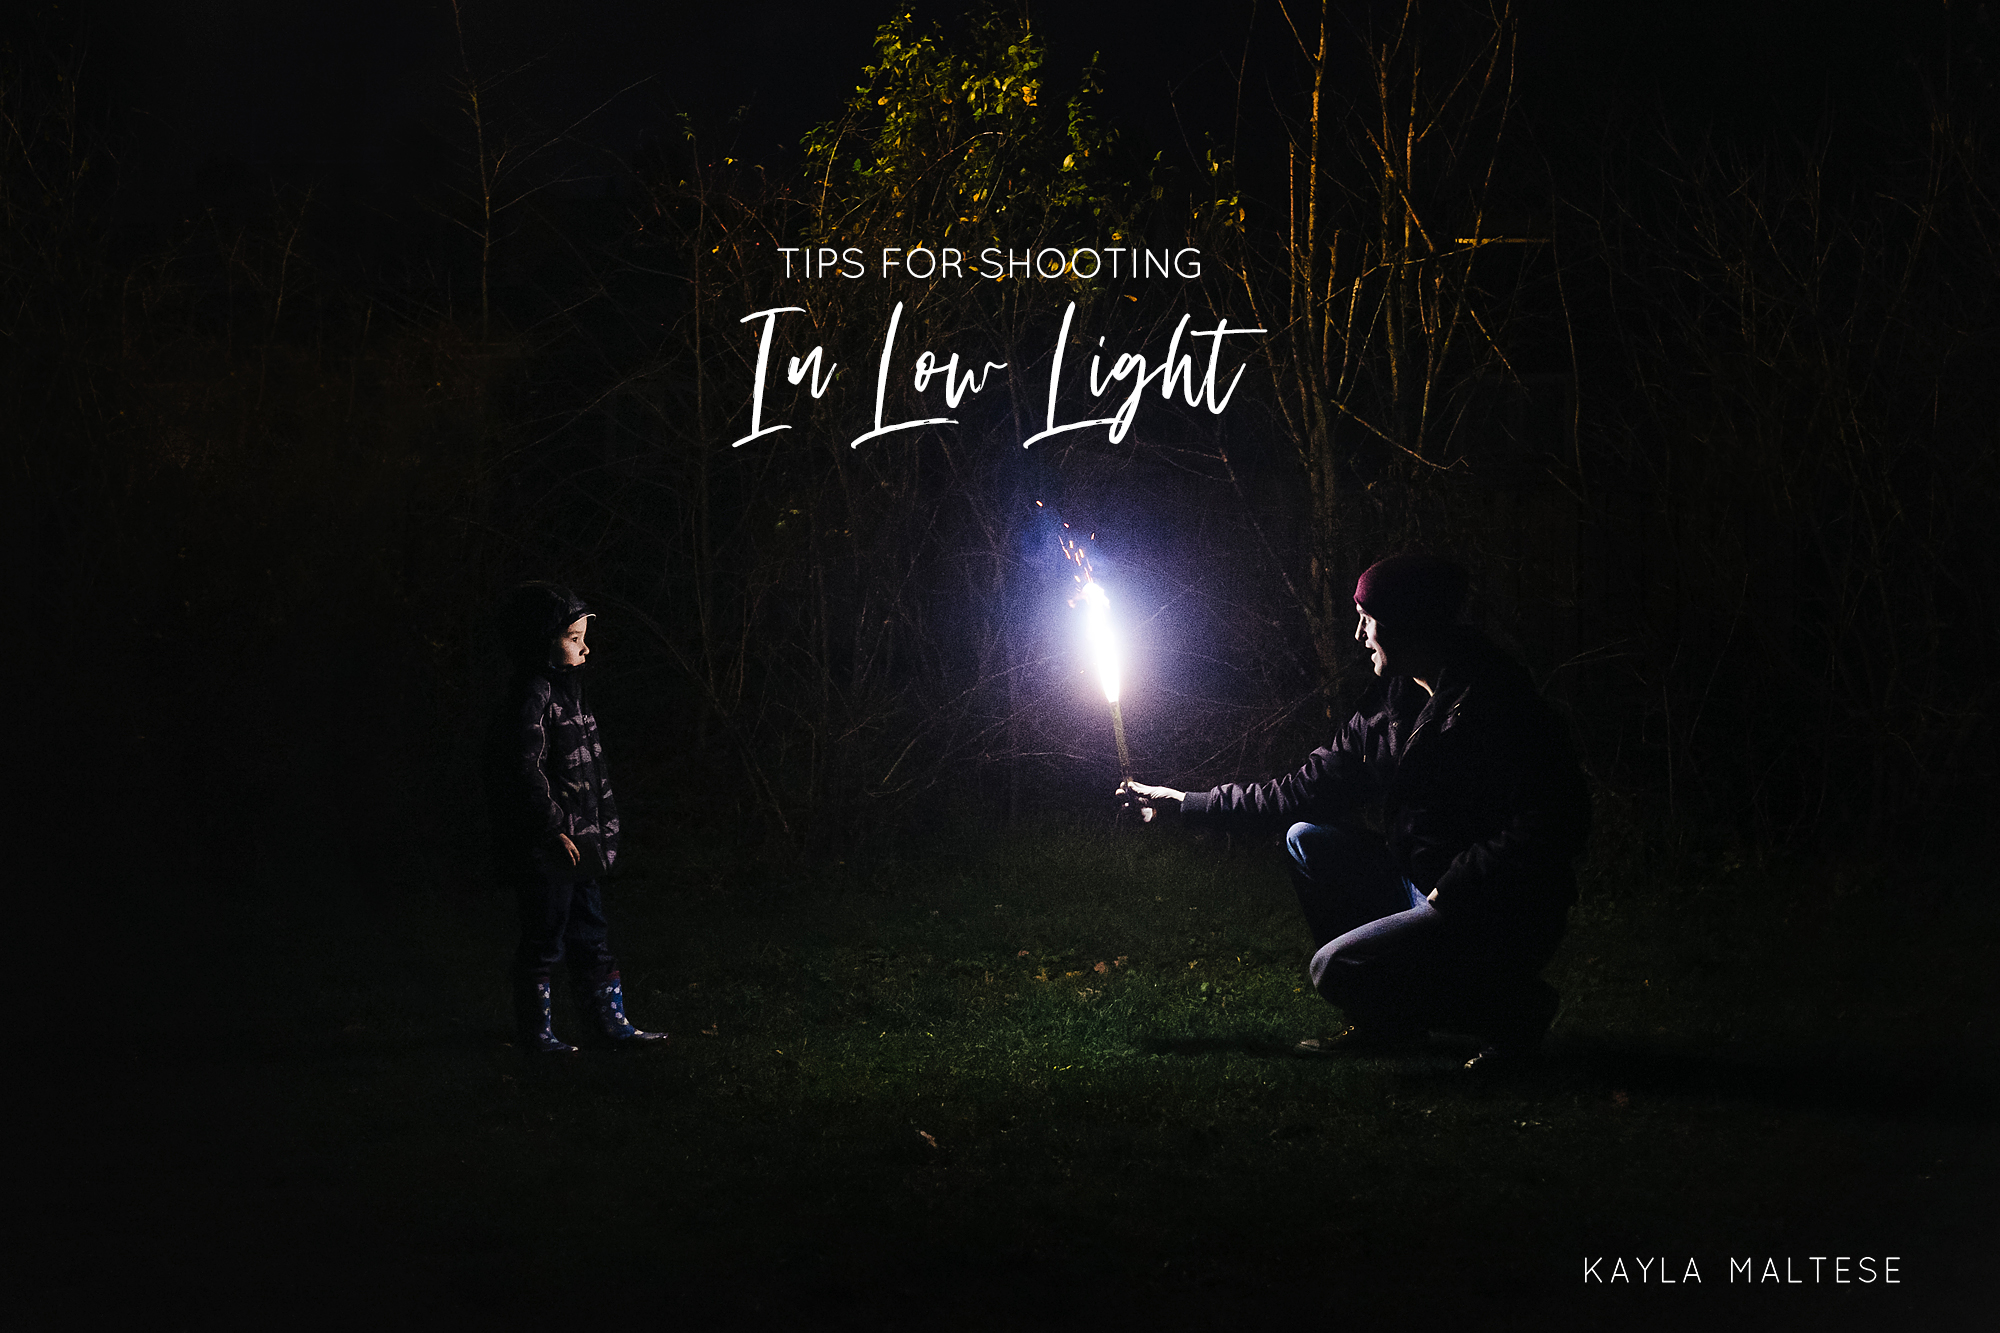
Tips for Shooting in Low Light
June 21, 2016
Second only to the questions I get asked about my self-portraits are questions about shooting in low light. It’s something that a lot of people struggle with and for good reason. Shooting in low light can be tough! After shooting my way through two and a half 365 projects (long winters and late nights), several dark births and countless in-home family and newborn sessions with unpredictable lighting, I’ve compiled a list of some my most useful tips for shooting in low light.
Pay attention to the light you DO have.
If you’re shooting in low light, then that means that there is still light available. It might not be pretty and it might cast harsh shadows on your subjects, but if you watch how it interacts with the elements in your frame you can use it to your advantage. When I have to shoot in low light, I’m usually dealing with artificial indoor lighting, lamps and overhead lighting. Before I start shooting, I watch how the light is falling on my subjects, focusing primarily on their faces. In general, I try to wait until my subjects are facing the light source. Noise is exaggerated in the shadows so if my subjects are looking toward the light, the noise on their faces will be minimized. I also like to avoid severe shadows on faces and facing the light source helps to minimize those as well.
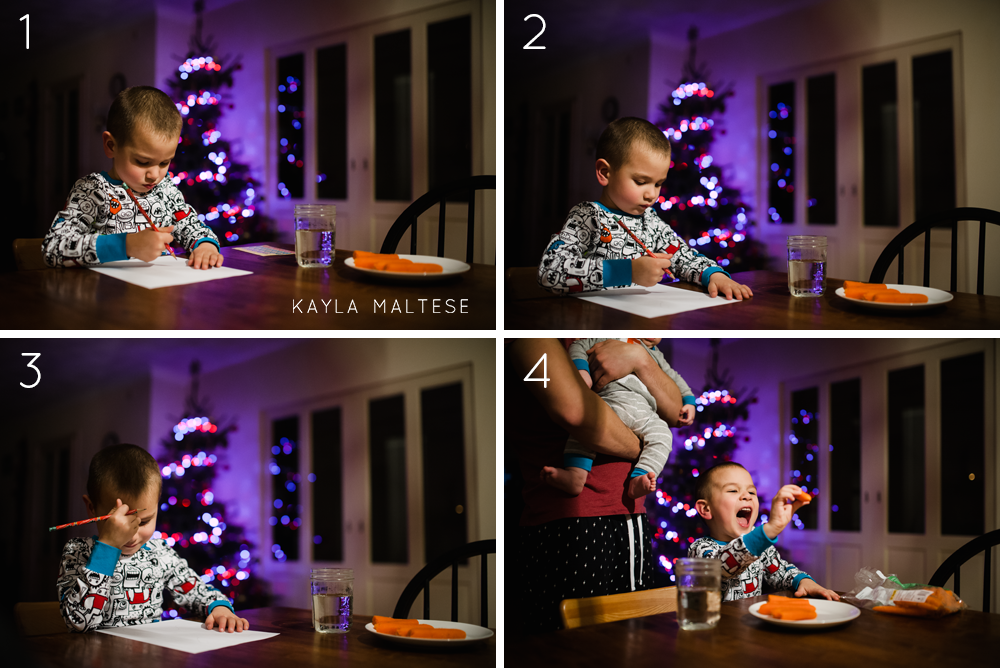
In the example below, my son was busy writing a note to Santa at our dining room table. The only lighting in the room was the Christmas tree in the background and a ceiling light almost directly above him. In frame 1, he’s looking down at his paper and as a result, his eyes are completely obscured by the shadow from his brow. I captured the moment in case he lost interest and then I waited. In frame 2, you can see he’s angled his face slightly higher so the shadows on his eyes aren’t as severe. I’m still not pleased with the way it looks, but because I wanted a picture of him in the act of writing his note, I had to get more creative. In frame 3, I was able to use his hand to hide some of the harsh shadows on his face. In frame 4, though it’s a completely different moment, you can see the difference between him looking down and him looking toward the light. By waiting until my subjects are facing the main light source, I am able to avoid a lot of noise and harsh shadows on their faces.
Use a higher ISO.
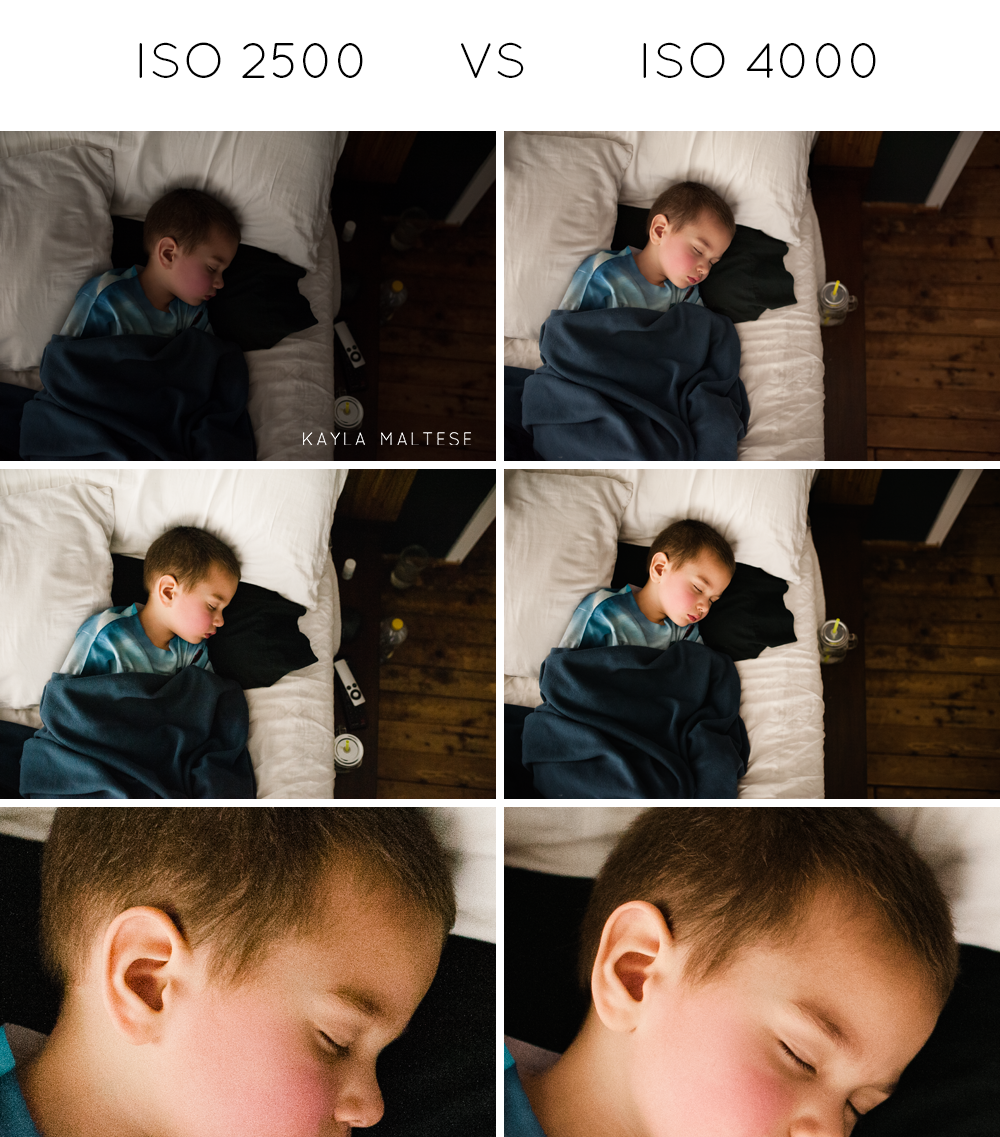
Using a higher ISO to ensure proper exposure in-camera as opposed to using a lower ISO, underexposing your image and raising the exposure when you edit will give you higher quality images. It’s such an easy fix, but it’s one that so many people are afraid of implementing. In this example, I didn’t check my settings before I pressed the shutter so my first frame of Silas sleeping was really underexposed. After adjusting my ISO from 2500 to 4000, my image was properly exposed. When I edit both images, you can see that the underexposed version is far noisier than the image with the higher ISO (no noise reduction applied to either image). Use the lowest ISO you can, but don’t be afraid to push your ISO to achieve proper exposure in-camera.
Use a flash.
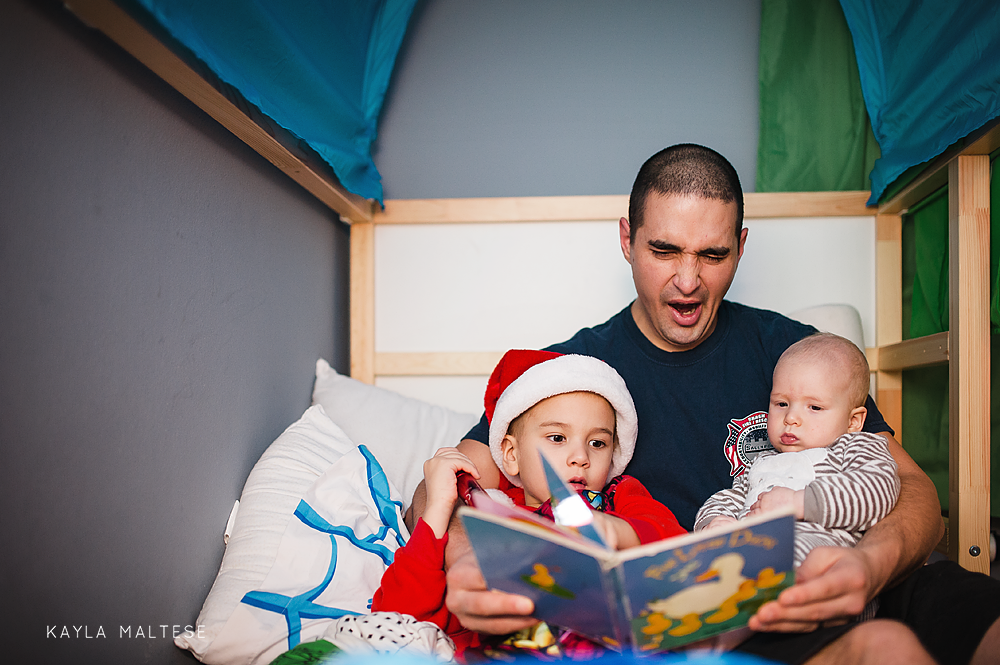
At some point, you may be faced with a scene so dark that your camera’s sensor cannot gather enough data to take a decent picture. So what do you do when you’re at a birth and your settings are maxed but your images are still underexposed? How do you get that picture of the bedtime routine when your only light source is a dim little lamp? You use a flash! If I have time before I know a moment will end, I grab my speedlight, clip it onto my camera and bounce it over one of my shoulders off of a wall or ceiling. My son’s room gets really dark in the winter so if I know there’s a picture I want to take, I’ll be ready with my speedlight. At this birth, the lights were turned off for most of the night, so if I hoped to get any decent shots, I needed my flash. Get a speedlight, learn how to use it and don’t be afraid of it.
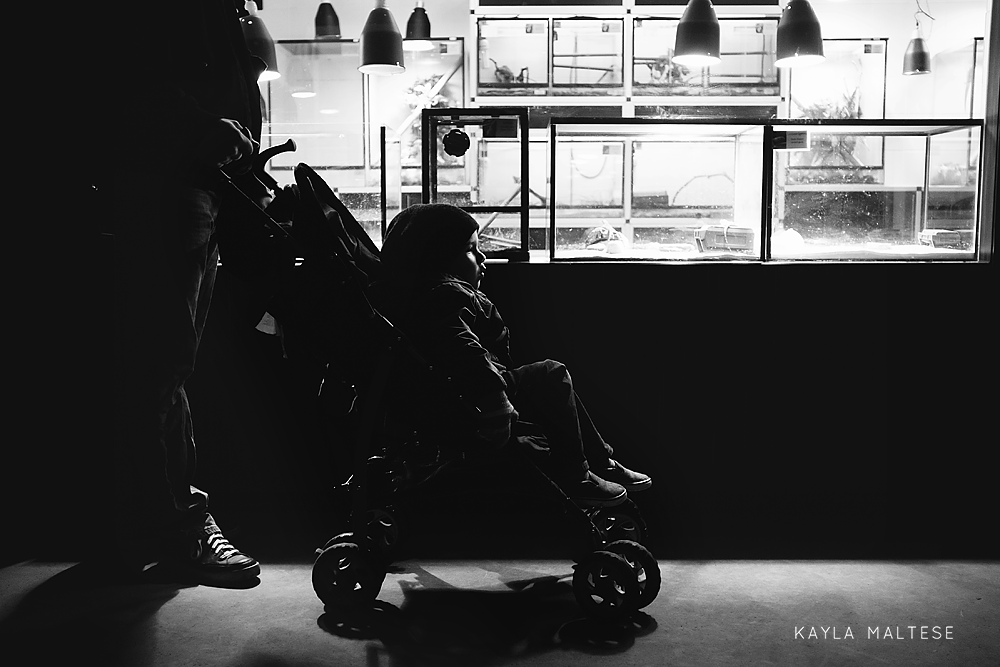
Have fun with it!
When you get comfortable in low light, a whole world of shooting opportunities will open up to you. You will no longer be limited by location or time of day. You’ll be able to anticipate how the direction, intensity and type of light available will will affect your image. You’ll learn how changing your subject’s position will change the entire feel of your image. Move your subject closer to the only light source, expose for those highlights and watch the shadows come to life!
Interested in mentoring with me? Email me at Kayla@kaylamaltesephotography.com to find out more about mentoring with me and be sure to follow me on Facebook.


